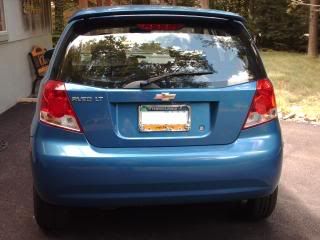
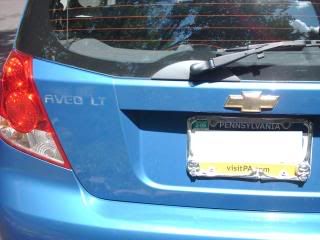
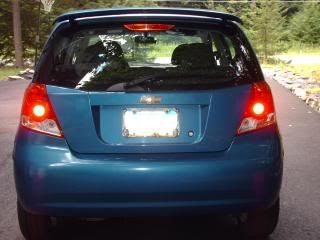
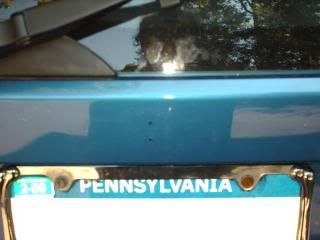
In the Exterior section, I have a post about custom emblems. I de-badged and re-badged my car, and would have felt bad if I didn't share how I did it.
Tools needed:
Dental Floss (strong if possible)
Sponge, soapy water, rags, scratch fix wax, wax applicator, and buffing rag.
If re-badging:
New Badges, Ruler, tape, and some old junk mail (a circular would be best)
Starting out:
[attachment=9:3t1ffa0k]DSCN1527.JPG[/attachment:3t1ffa0k][attachment=8:3t1ffa0k]DSCN1526.JPG[/attachment:3t1ffa0k]
Using Dental floss, I cut the glue on the back of the original emblems, to remove them.
[attachment=7:3t1ffa0k]DSCN1528.JPG[/attachment:3t1ffa0k][attachment=6:3t1ffa0k]DSCN1529.JPG[/attachment:3t1ffa0k]
I made sure I kept the original emblems so that if I decided later I want to put them back on, a little trim tape and all is good.
[attachment=5:3t1ffa0k]DSCN1530.JPG[/attachment:3t1ffa0k]
Cleaning up is the hardest part, that glue does not like to come off. After trying several things, we finally decided Windex did the best job. Now no matter how good you are, scrubbing on your car like that is bound to cause some small scratches. Luckly for me, the new emblems will so much to cover them. but best idea is to use either color match, or some scratch fix wax. It won't make it perfect, but may make it almost un-noticible.
[attachment=4:3t1ffa0k]DSCN1531.JPG[/attachment:3t1ffa0k][attachment=3:3t1ffa0k]DSCN1532.JPG[/attachment:3t1ffa0k]
Past that, I used a ruler to line up the new emblems. If you look very closely, the "S" is not perfect, but once you stick them on, they are there, and not coming off, so be very careful when installing new emblems.
[attachment=2:3t1ffa0k]DSCN1533.JPG[/attachment:3t1ffa0k]
And there you go, new emblems on, old emblems gone.
[attachment=1:3t1ffa0k]DSCN1534.JPG[/attachment:3t1ffa0k][attachment=0:3t1ffa0k]DSCN1535.JPG[/attachment:3t1ffa0k]
Tune in next week, we will be showing you how to properly perform the hokey pokey. Till next time, LATER DUDE!



 LinkBack URL
 About LinkBacks
 Reply With Quote
 BOOCAR
 New and Blue!
 Red Rocket