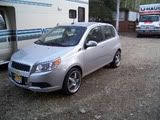
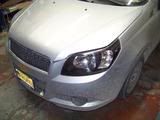
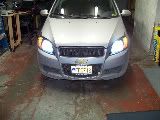
a DYI article by The HitecRednec
(Please be advised this is a delicate, time consuming DYI, if you are not patient, gentle as well detailed oriented your finished product may look like Doggie Do-Do, as well as it could cost you in parts buying yet another rare fog lamp.)
Tools Needed:
• Cordless Drill
• Exact-o knife
• 1/16th inch, 1/8th inch, 1/4 inch, ½ inch, ½ to 1” step drill bits (highly recommend they be NEW/SHARP)
• 5-Piece Diamond Needle File Set (Item # 06988 @ http://www.harborfreight.com)
• Dremel tool (optional)
• 20-Piece Diamond Point Bit Set (optional) (Item # 040547 @ http://www.harborfreight.com)
• Tape Measure
• Head Lamp (optional)
• Strobe Bulb Assembly
• Small tube of 100% Silicone


Step 1.
Disassemble the fog lamp by removing the rear cover by the twist lock cover, then, remove the clip that holds the bulb in place. Then remove the blade connectors and wires to get them out of your way.

Step 2.
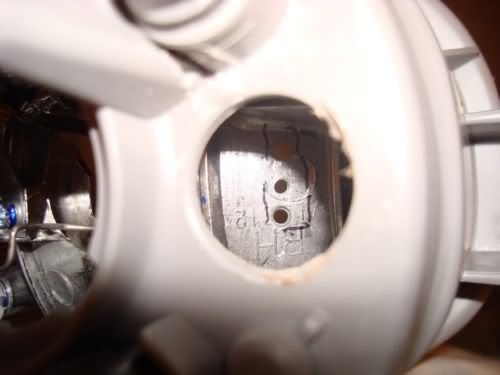
Drill a 1/8th inch hole in the center of the X molded on the rear of the housing where the bulb size is marked. Using the Exact-o knife remove the excess plastic support next to the screw.

Step 3.
Enlarge your 1/8th inch pilot hole gently to 1/2 inch making sure not to plunge your bit into the fragile reflector behind the plastic. Then using your stepped drill bit bore the hole to ¾ inch.


Step 4.
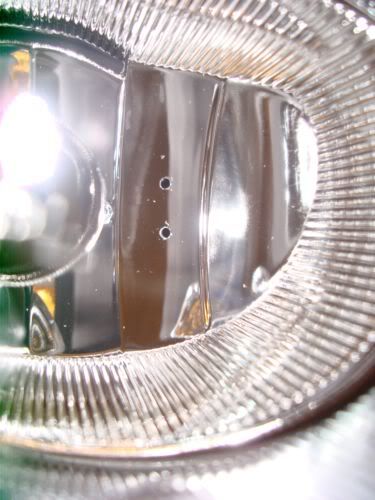
Mark with a sharpie the desired location of the strobe penetration into the reflector. This is your target area, my strobe bulb is ¼ inch wide by ¾ inch tall. CAUTION: The reflector is made of very fragile material almost like glass, so use minimal pressure and DO NOT RUSH THE PROCESS. Carefully drill using a very sharp 1/8th inch drill bit 2 pilot holes approximately 1/8th inch from the ends of your target area centered. Add a third hole if you feel confident you can do so without shattering the reflector. Then you can enlarge the 2 end holes to ¼ inch. This step is VERY DELICATE.


Step 5.
Using either the Dremel or the needle files, file the holes to the final desired shape no larger than your strobe bulb. This will take hours if you are following my directions an being gentle and not rushing. If you screw up here the result will be a shattered reflector costing another 70 to 80 dollars to replace.


Step 6.
Gently test fit your strob and make final filing adjustments and using the stepped bit at an angle modify your ¾ inch hole to accommodate your strobe housing at the desired angle for full penetration of the strobe bulb into the reflector area.

Step 7.
Using canned air or an air compressor with hose and nozzle carefully blow out all the debris from the reflector. You will not need any type of liquid or degreaser or wax as the debris removes cleanly and leaves no residual marks unlike fingerprints etc.
Step 8.
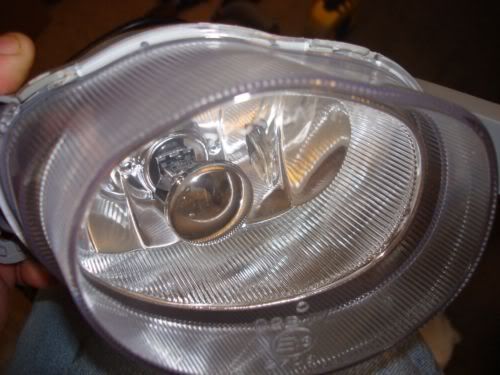
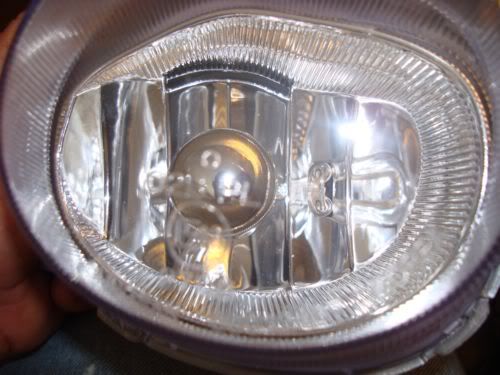
Insert your Strobe bulb assembly to final position and using a small amount of 100% silicone to seal in place the strobe back to the fog lamp housing. Reinstall the factory bulb and wire assembly so you can use both light features 1 strobe and 1 fog lamps. Congratulations your Fog lamp is modified and ready to install to your Aveo.


Feel free to post questions or comments about this article and I will make every effort to address them appropriately.
The HitecRednec

