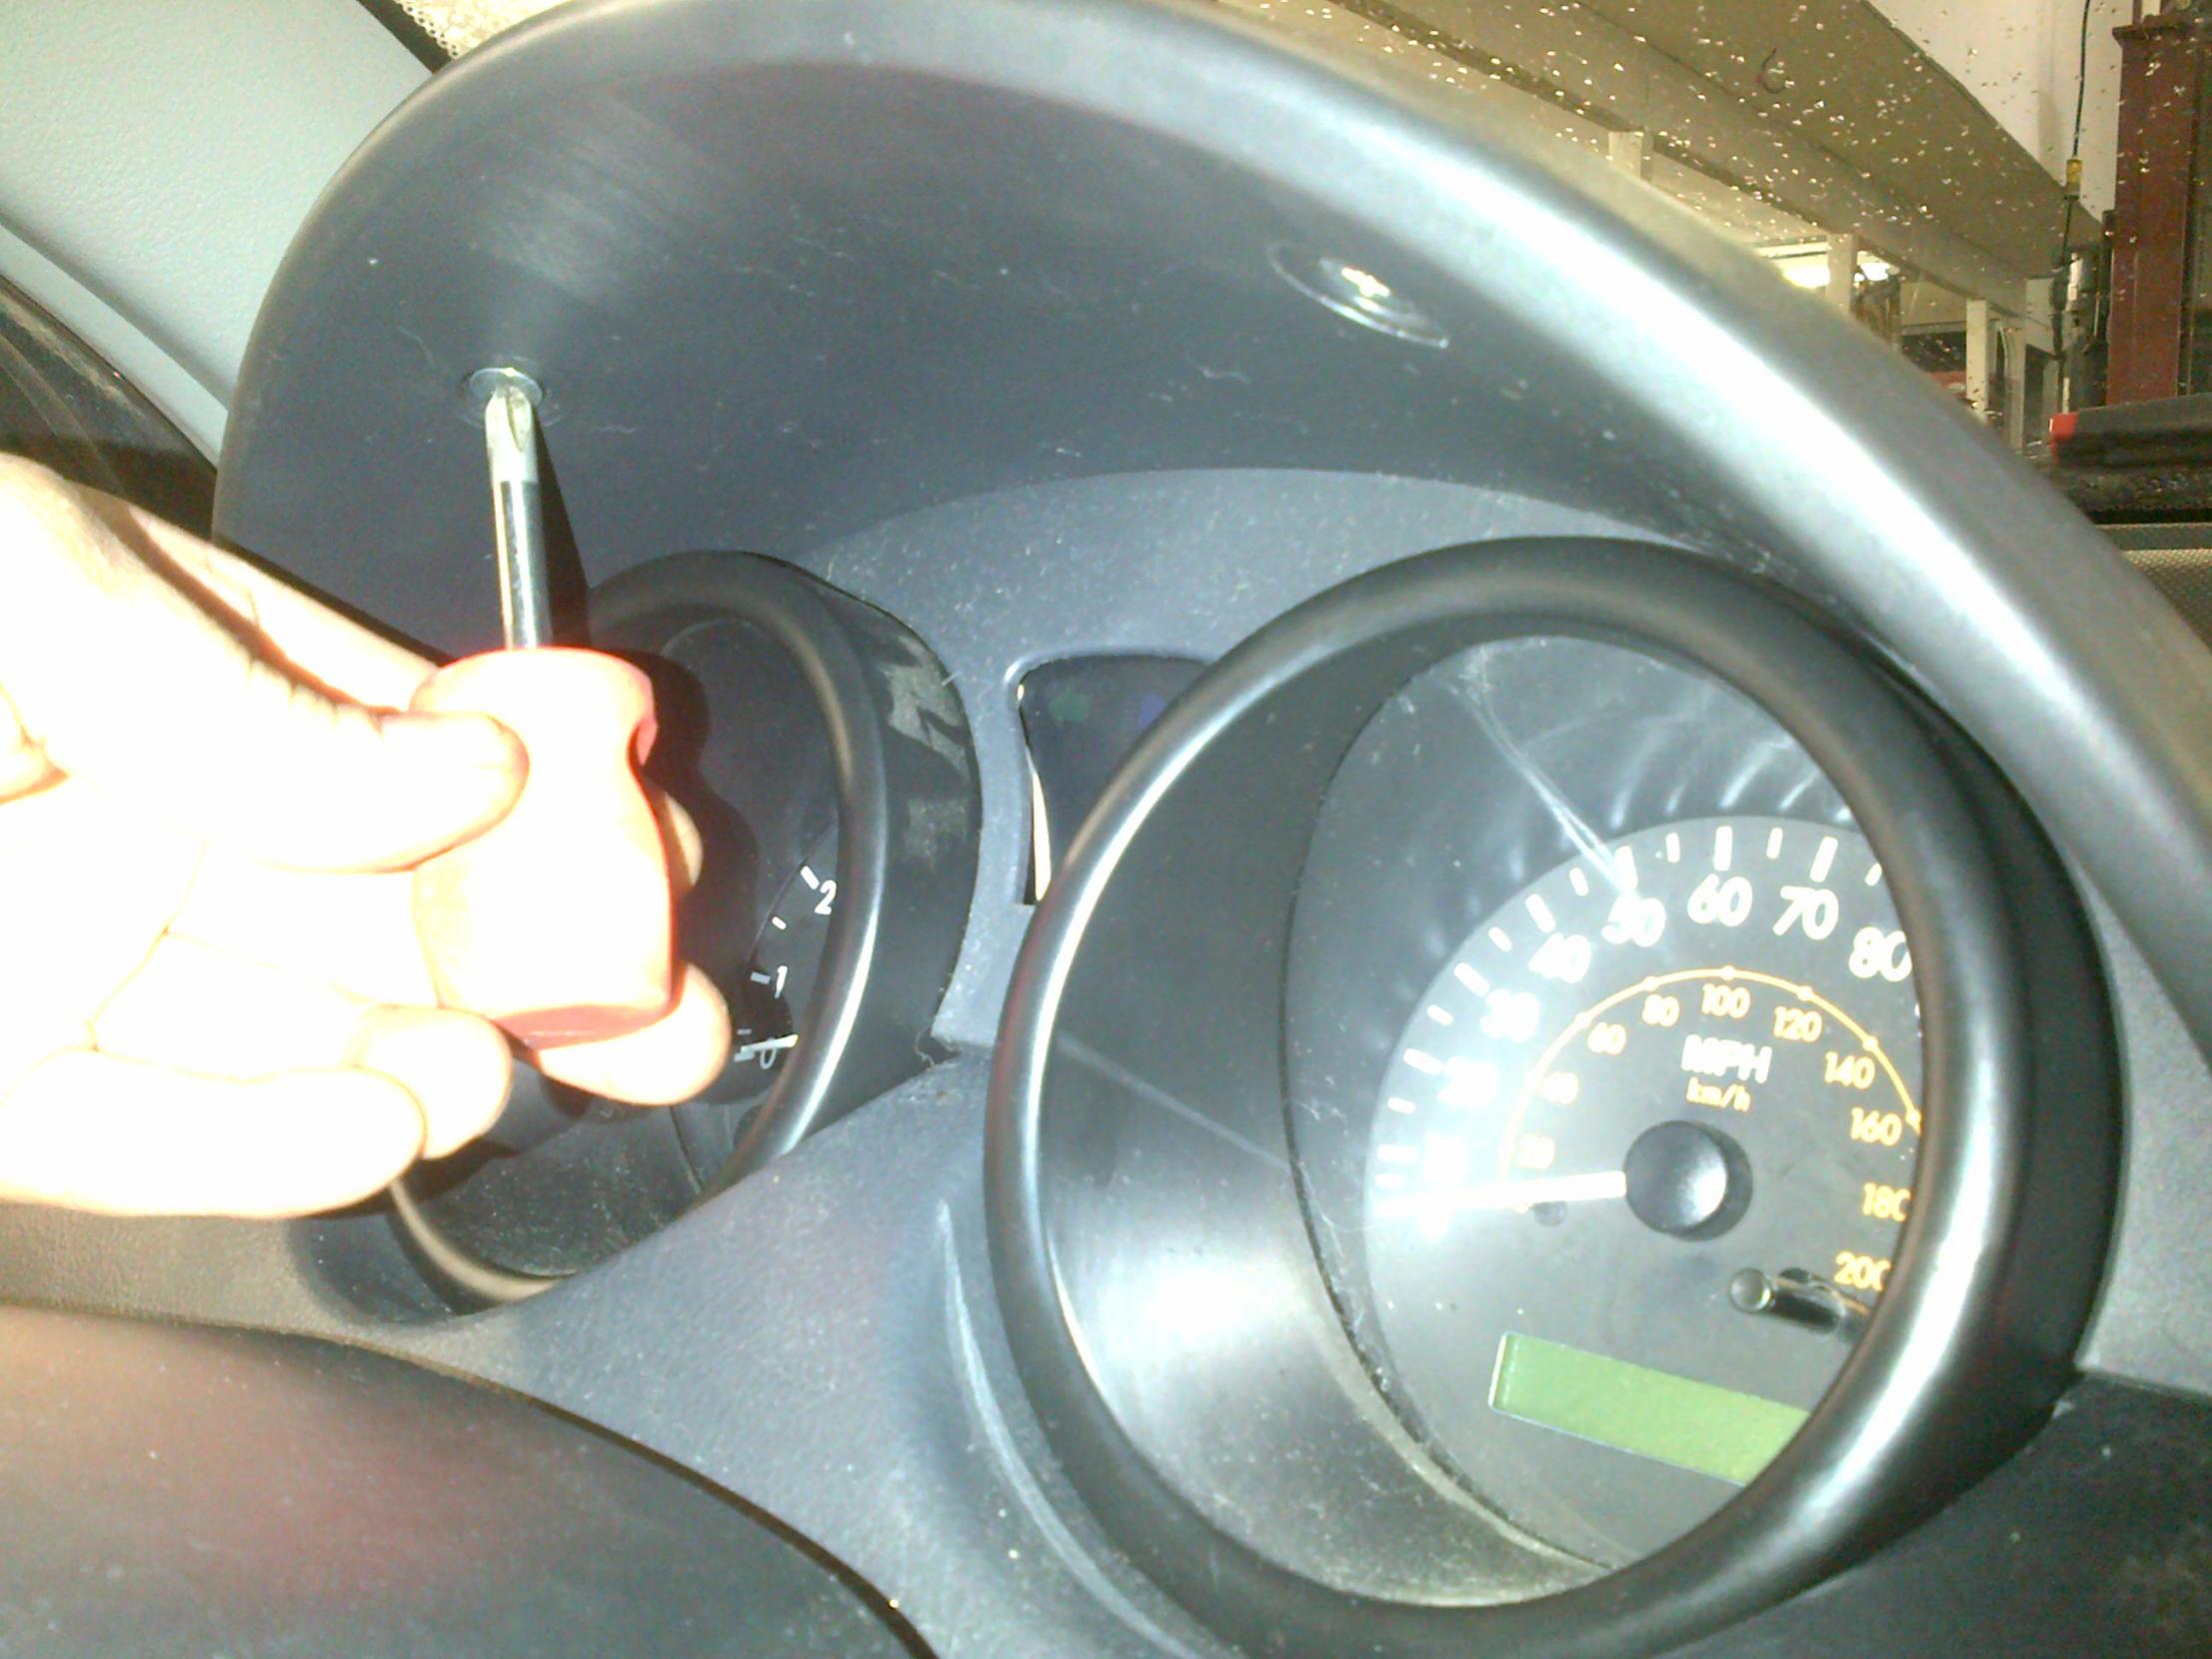
Remove the two vertical screws.
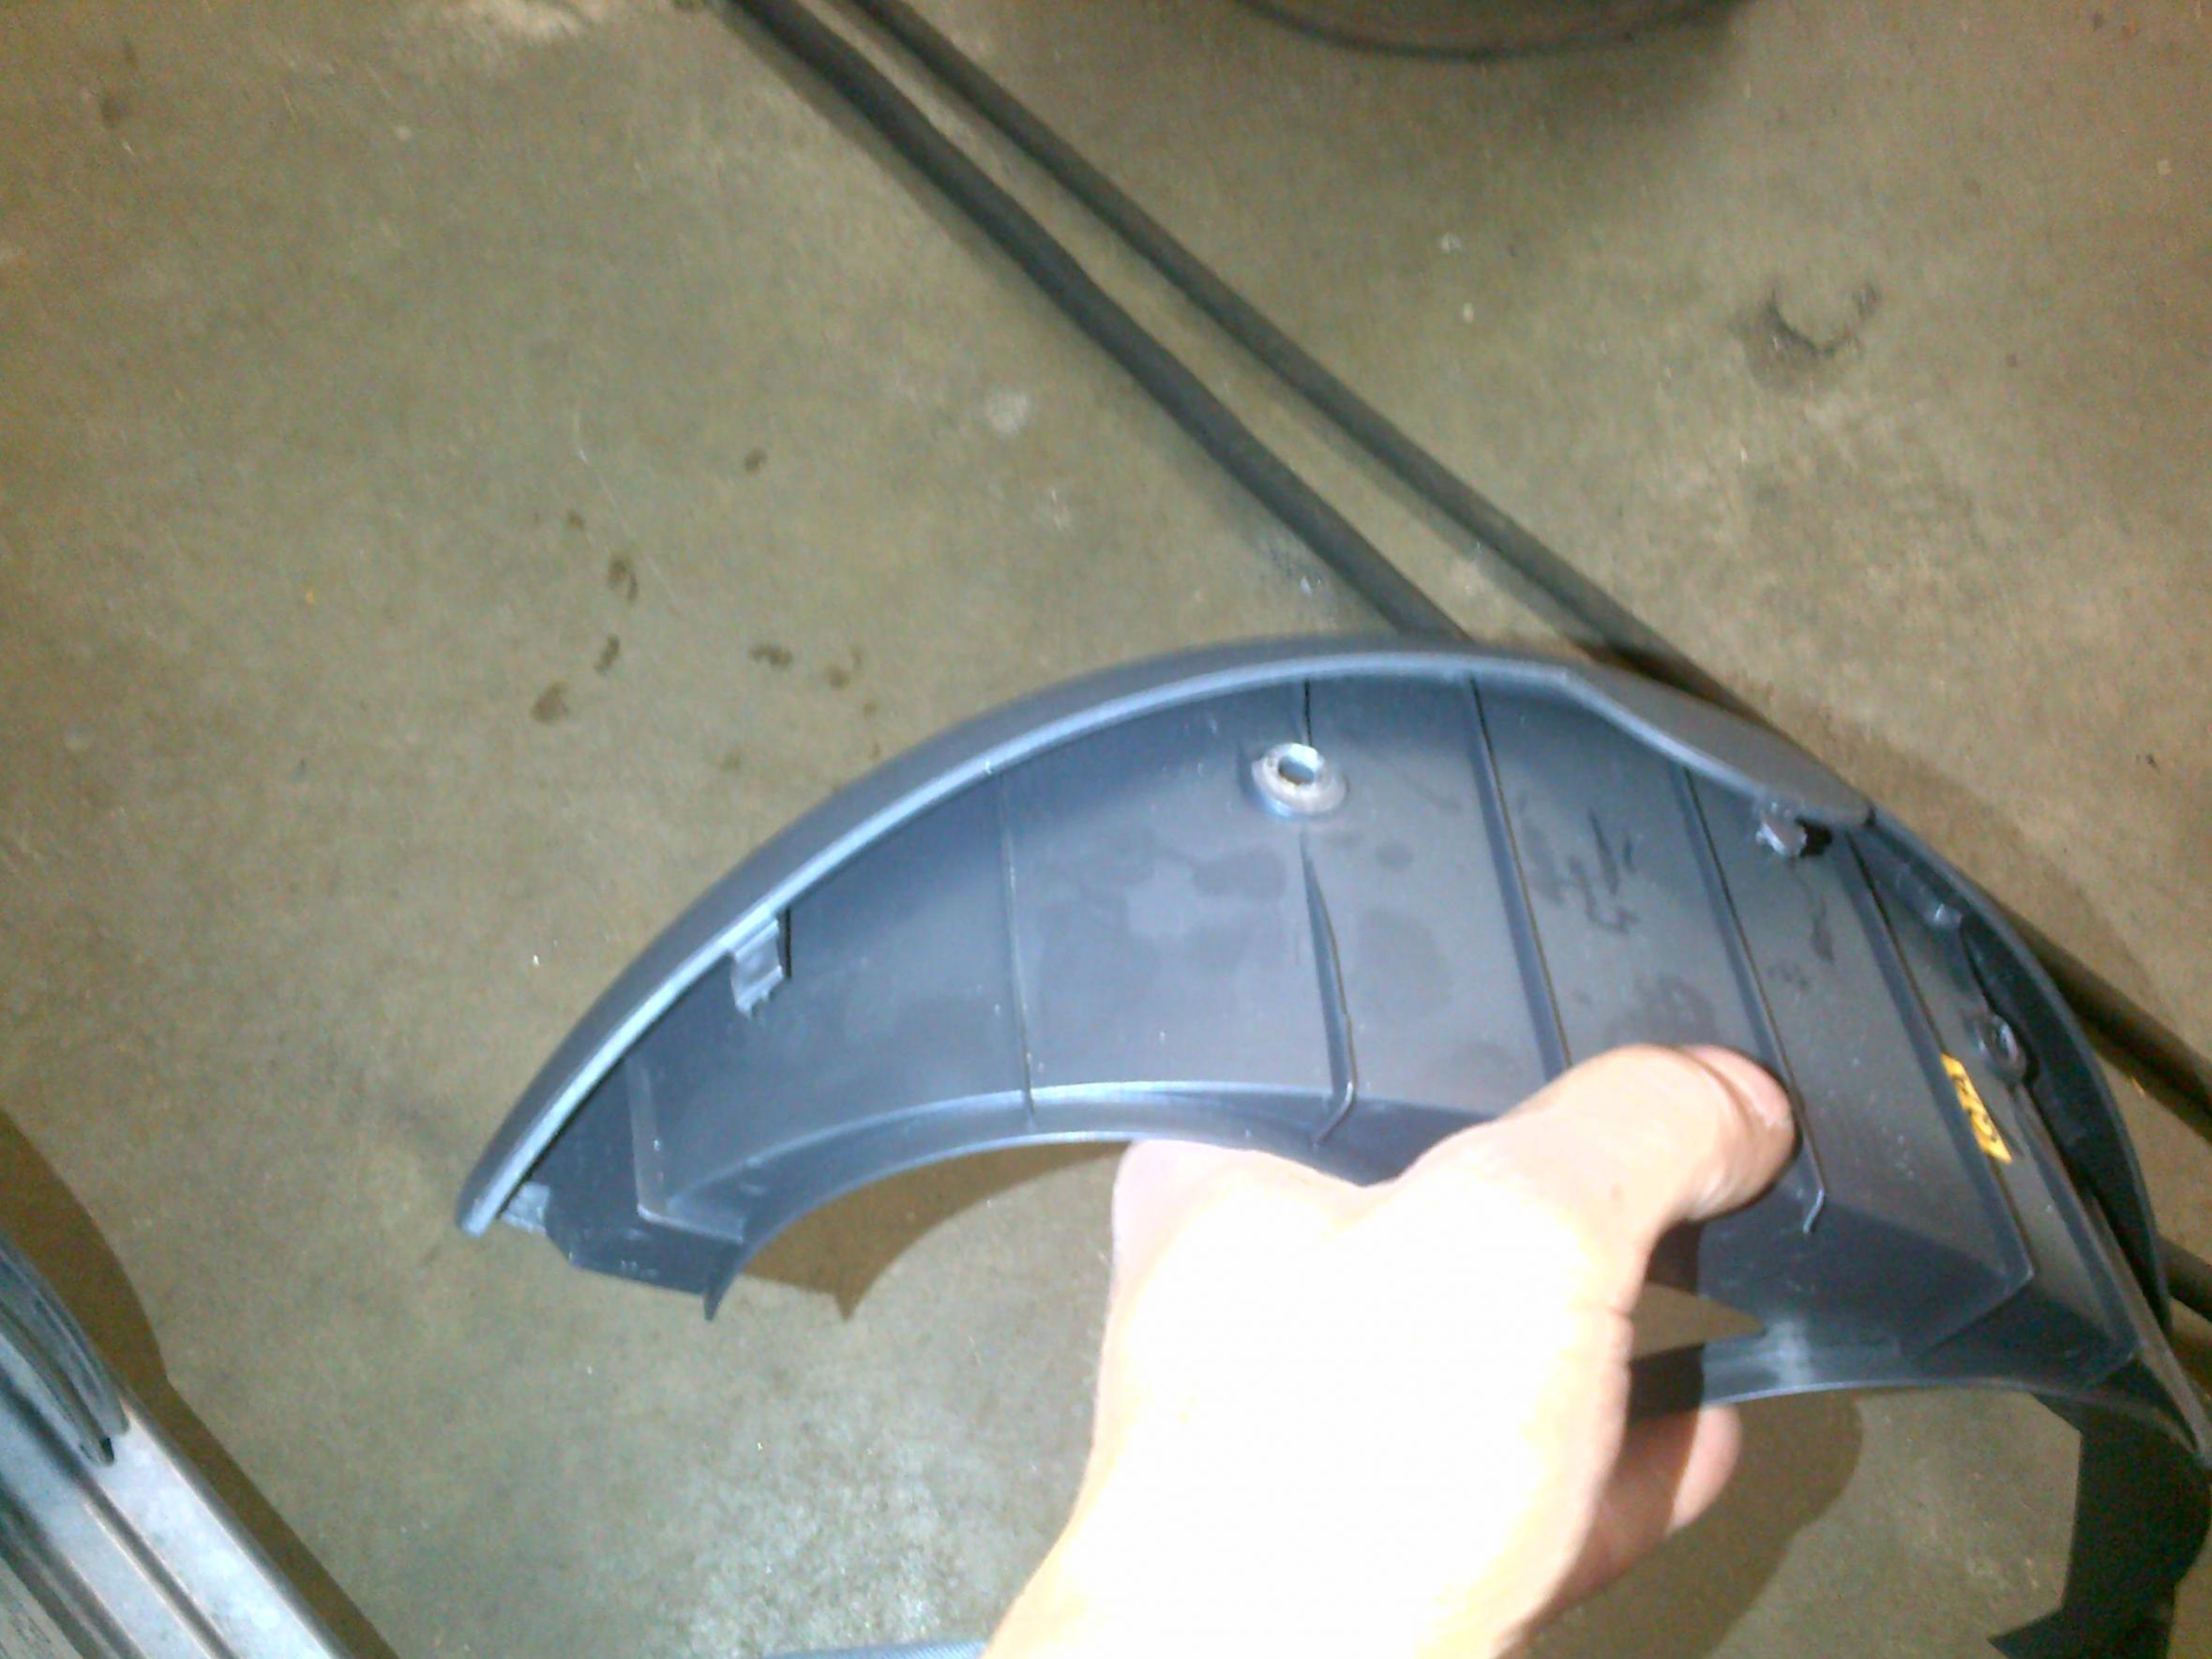
note the tab that points towards the windshield... squeeze and pull towards you.
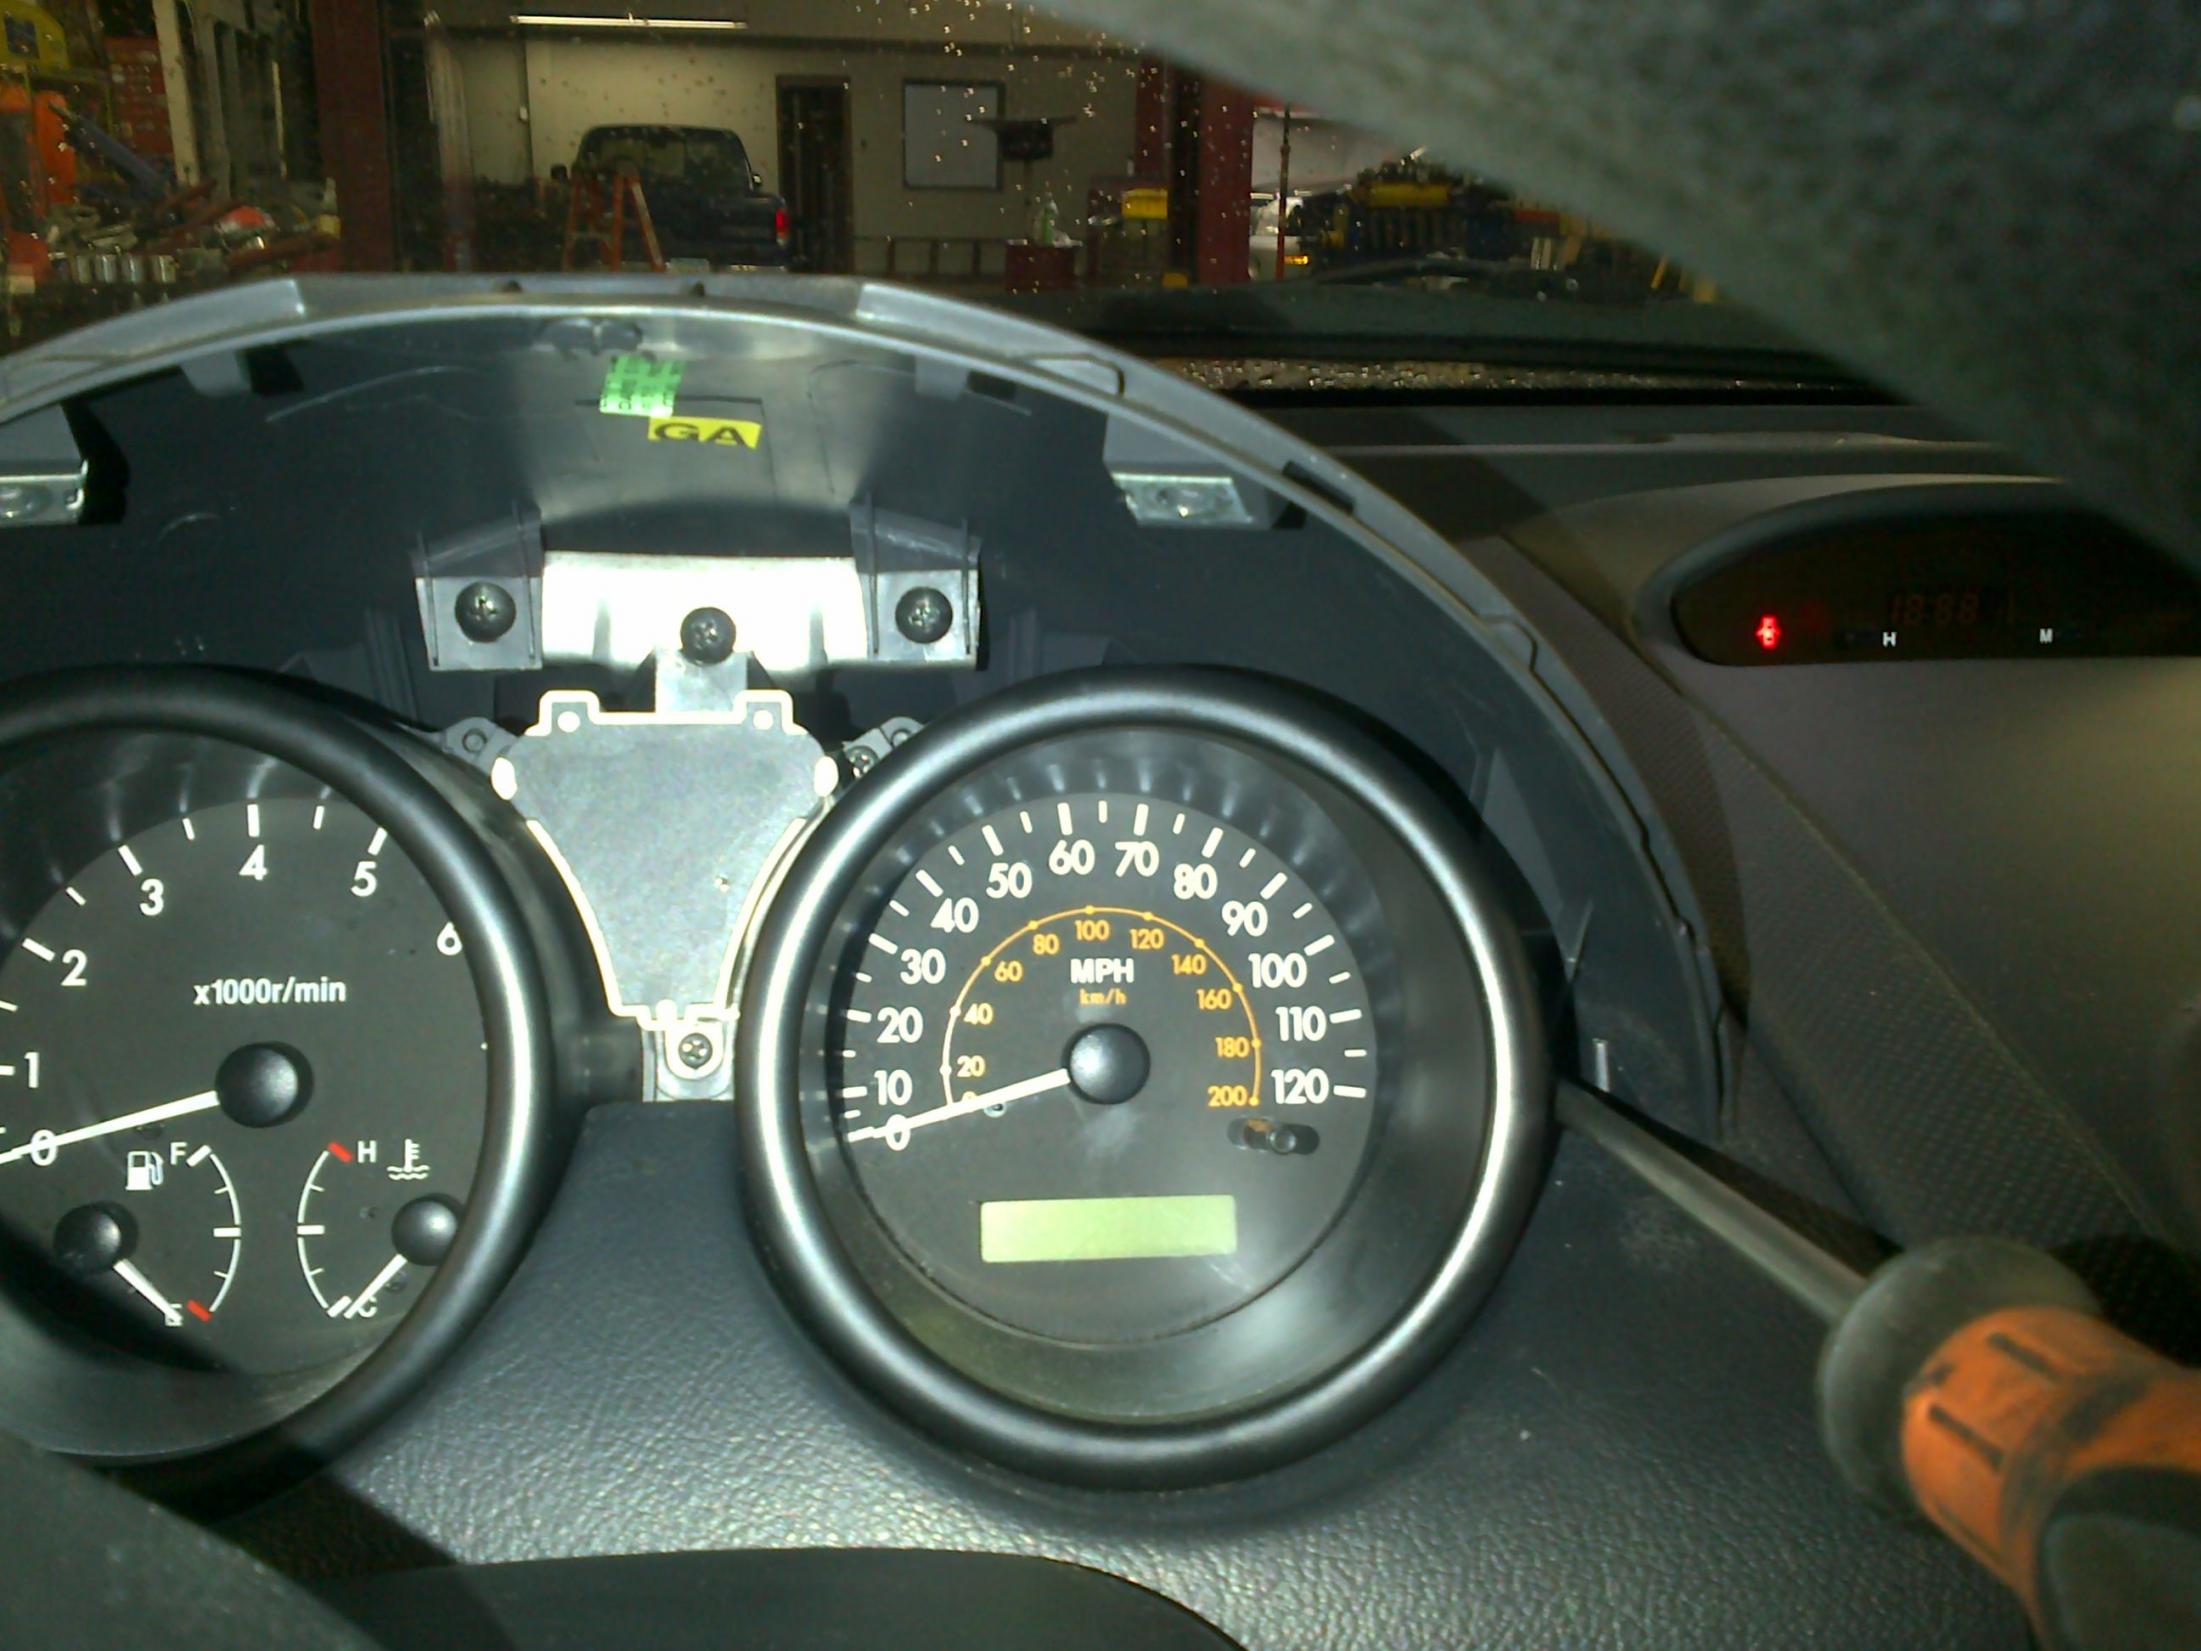
Two on the outside and two on top... don't take the last middle one out until after the top piece comes off.
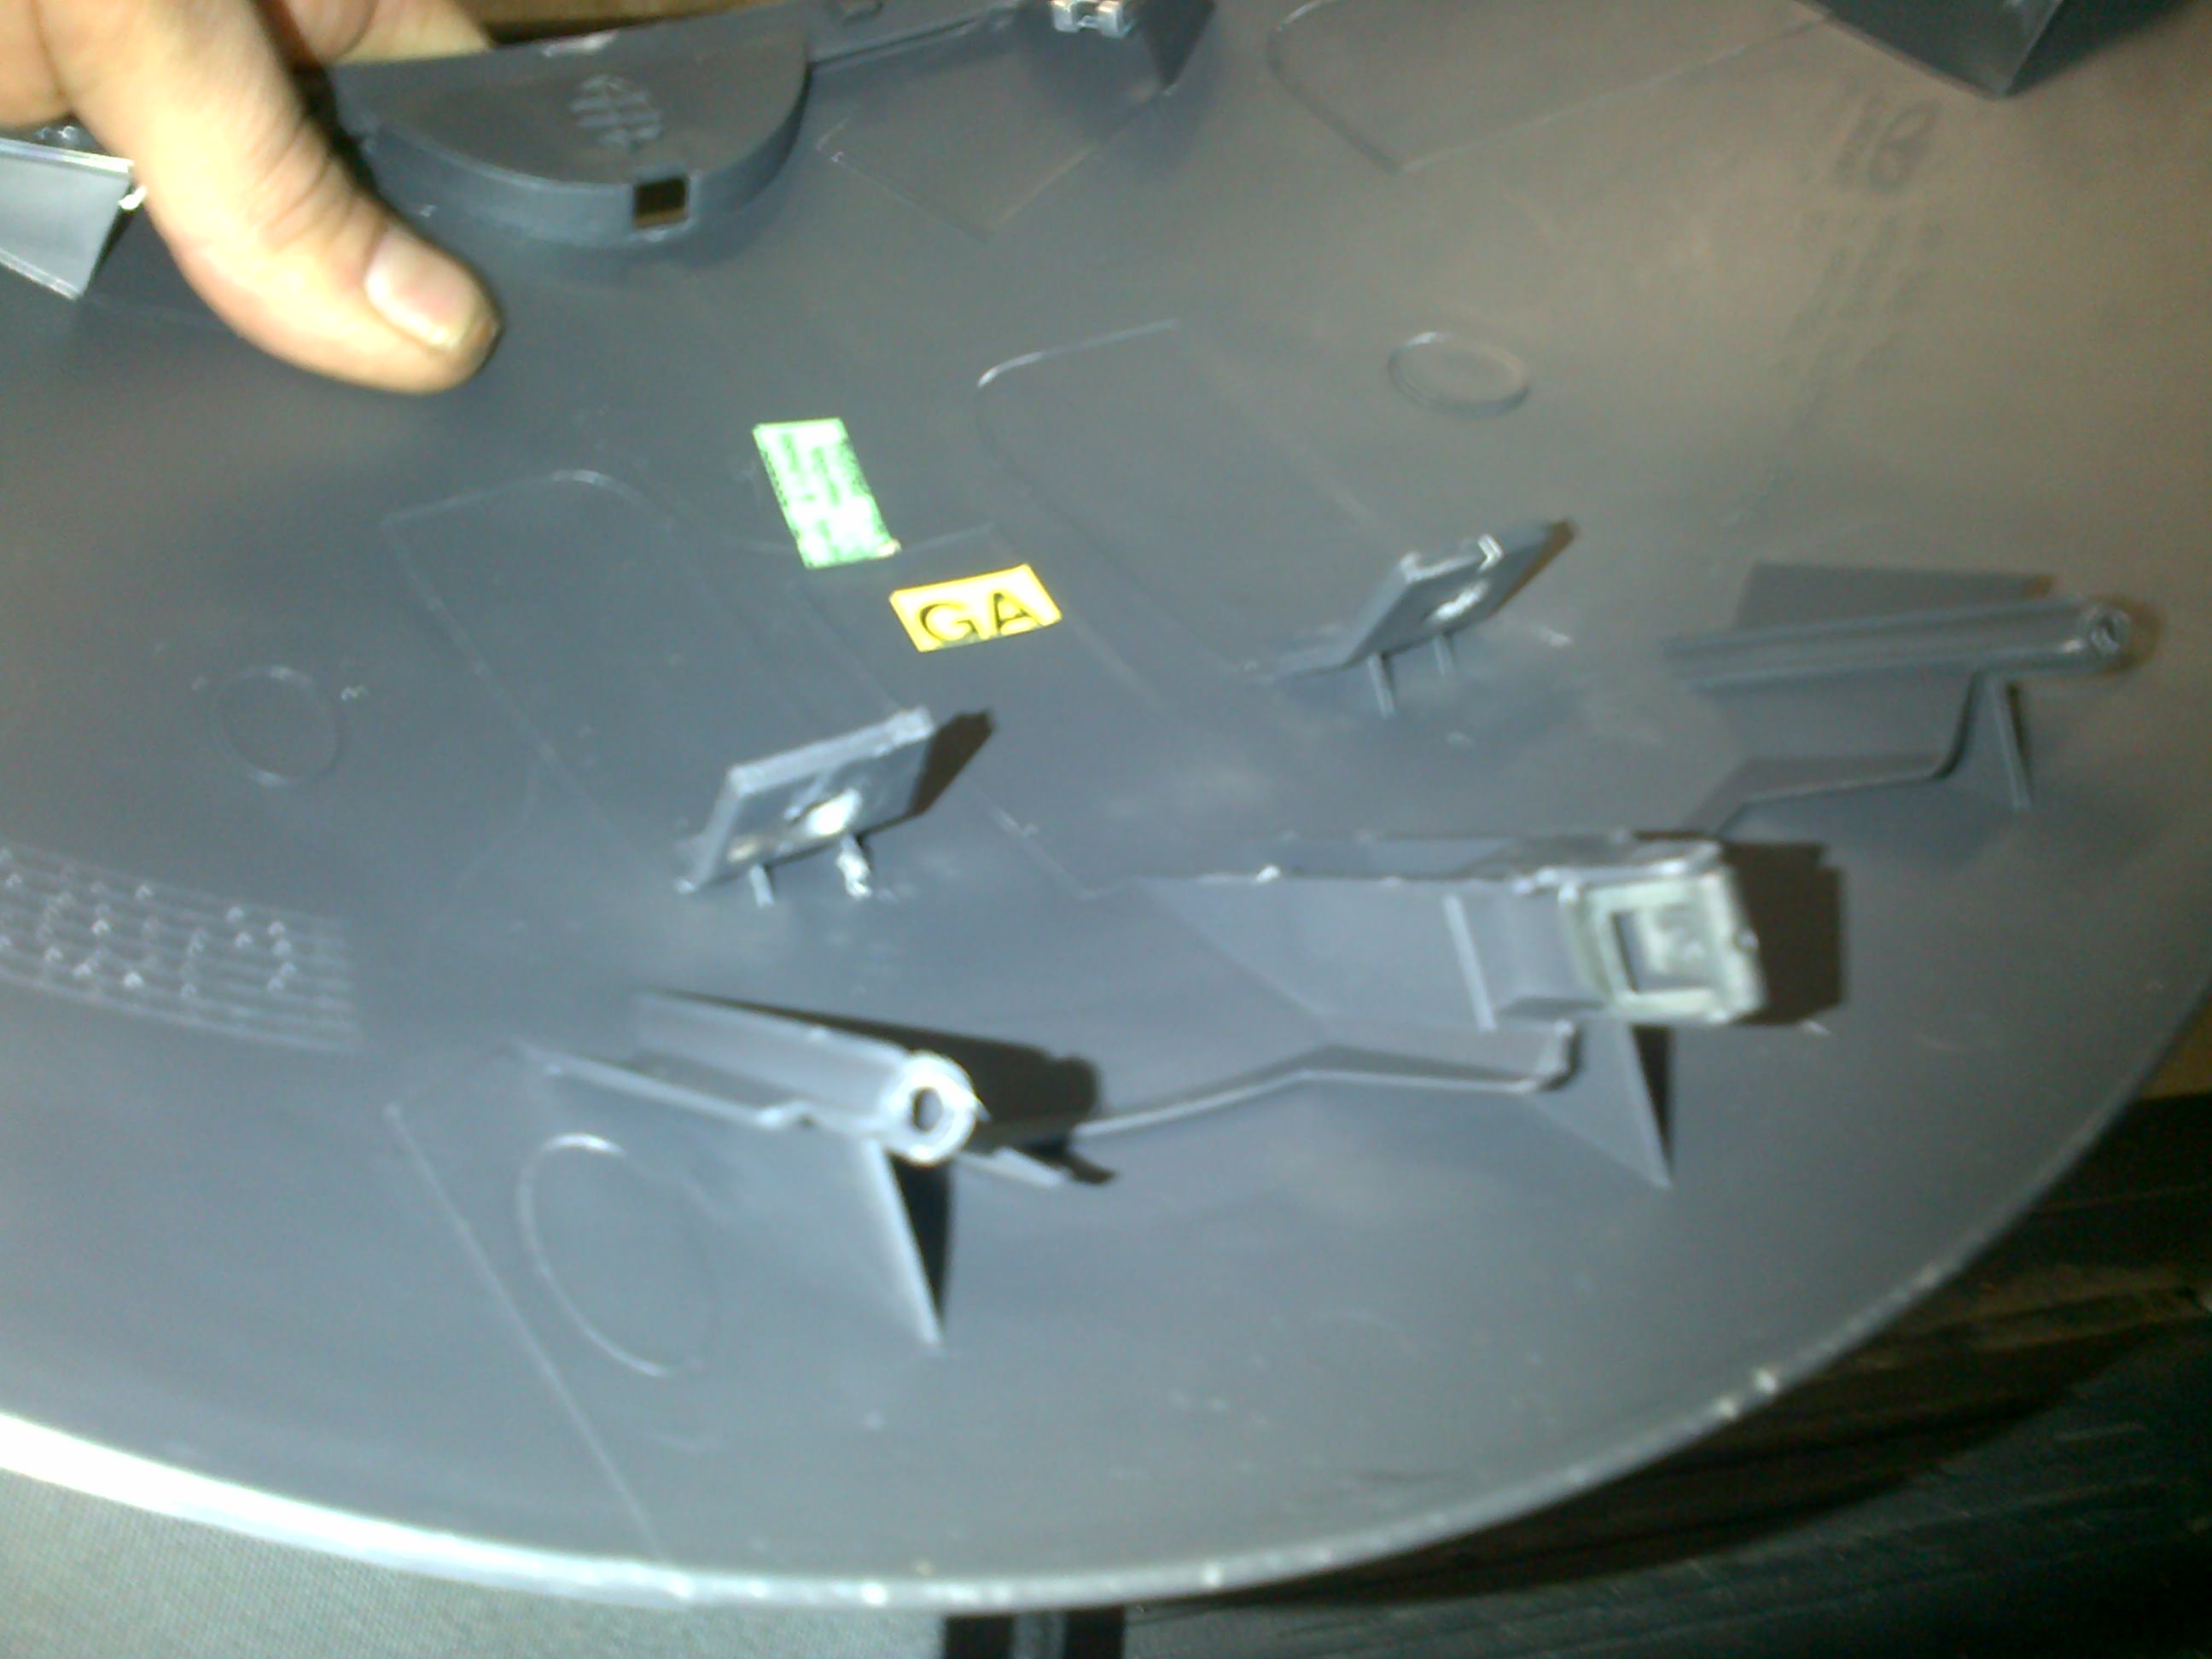
pop the metal fastner out vertically... watch the windshield
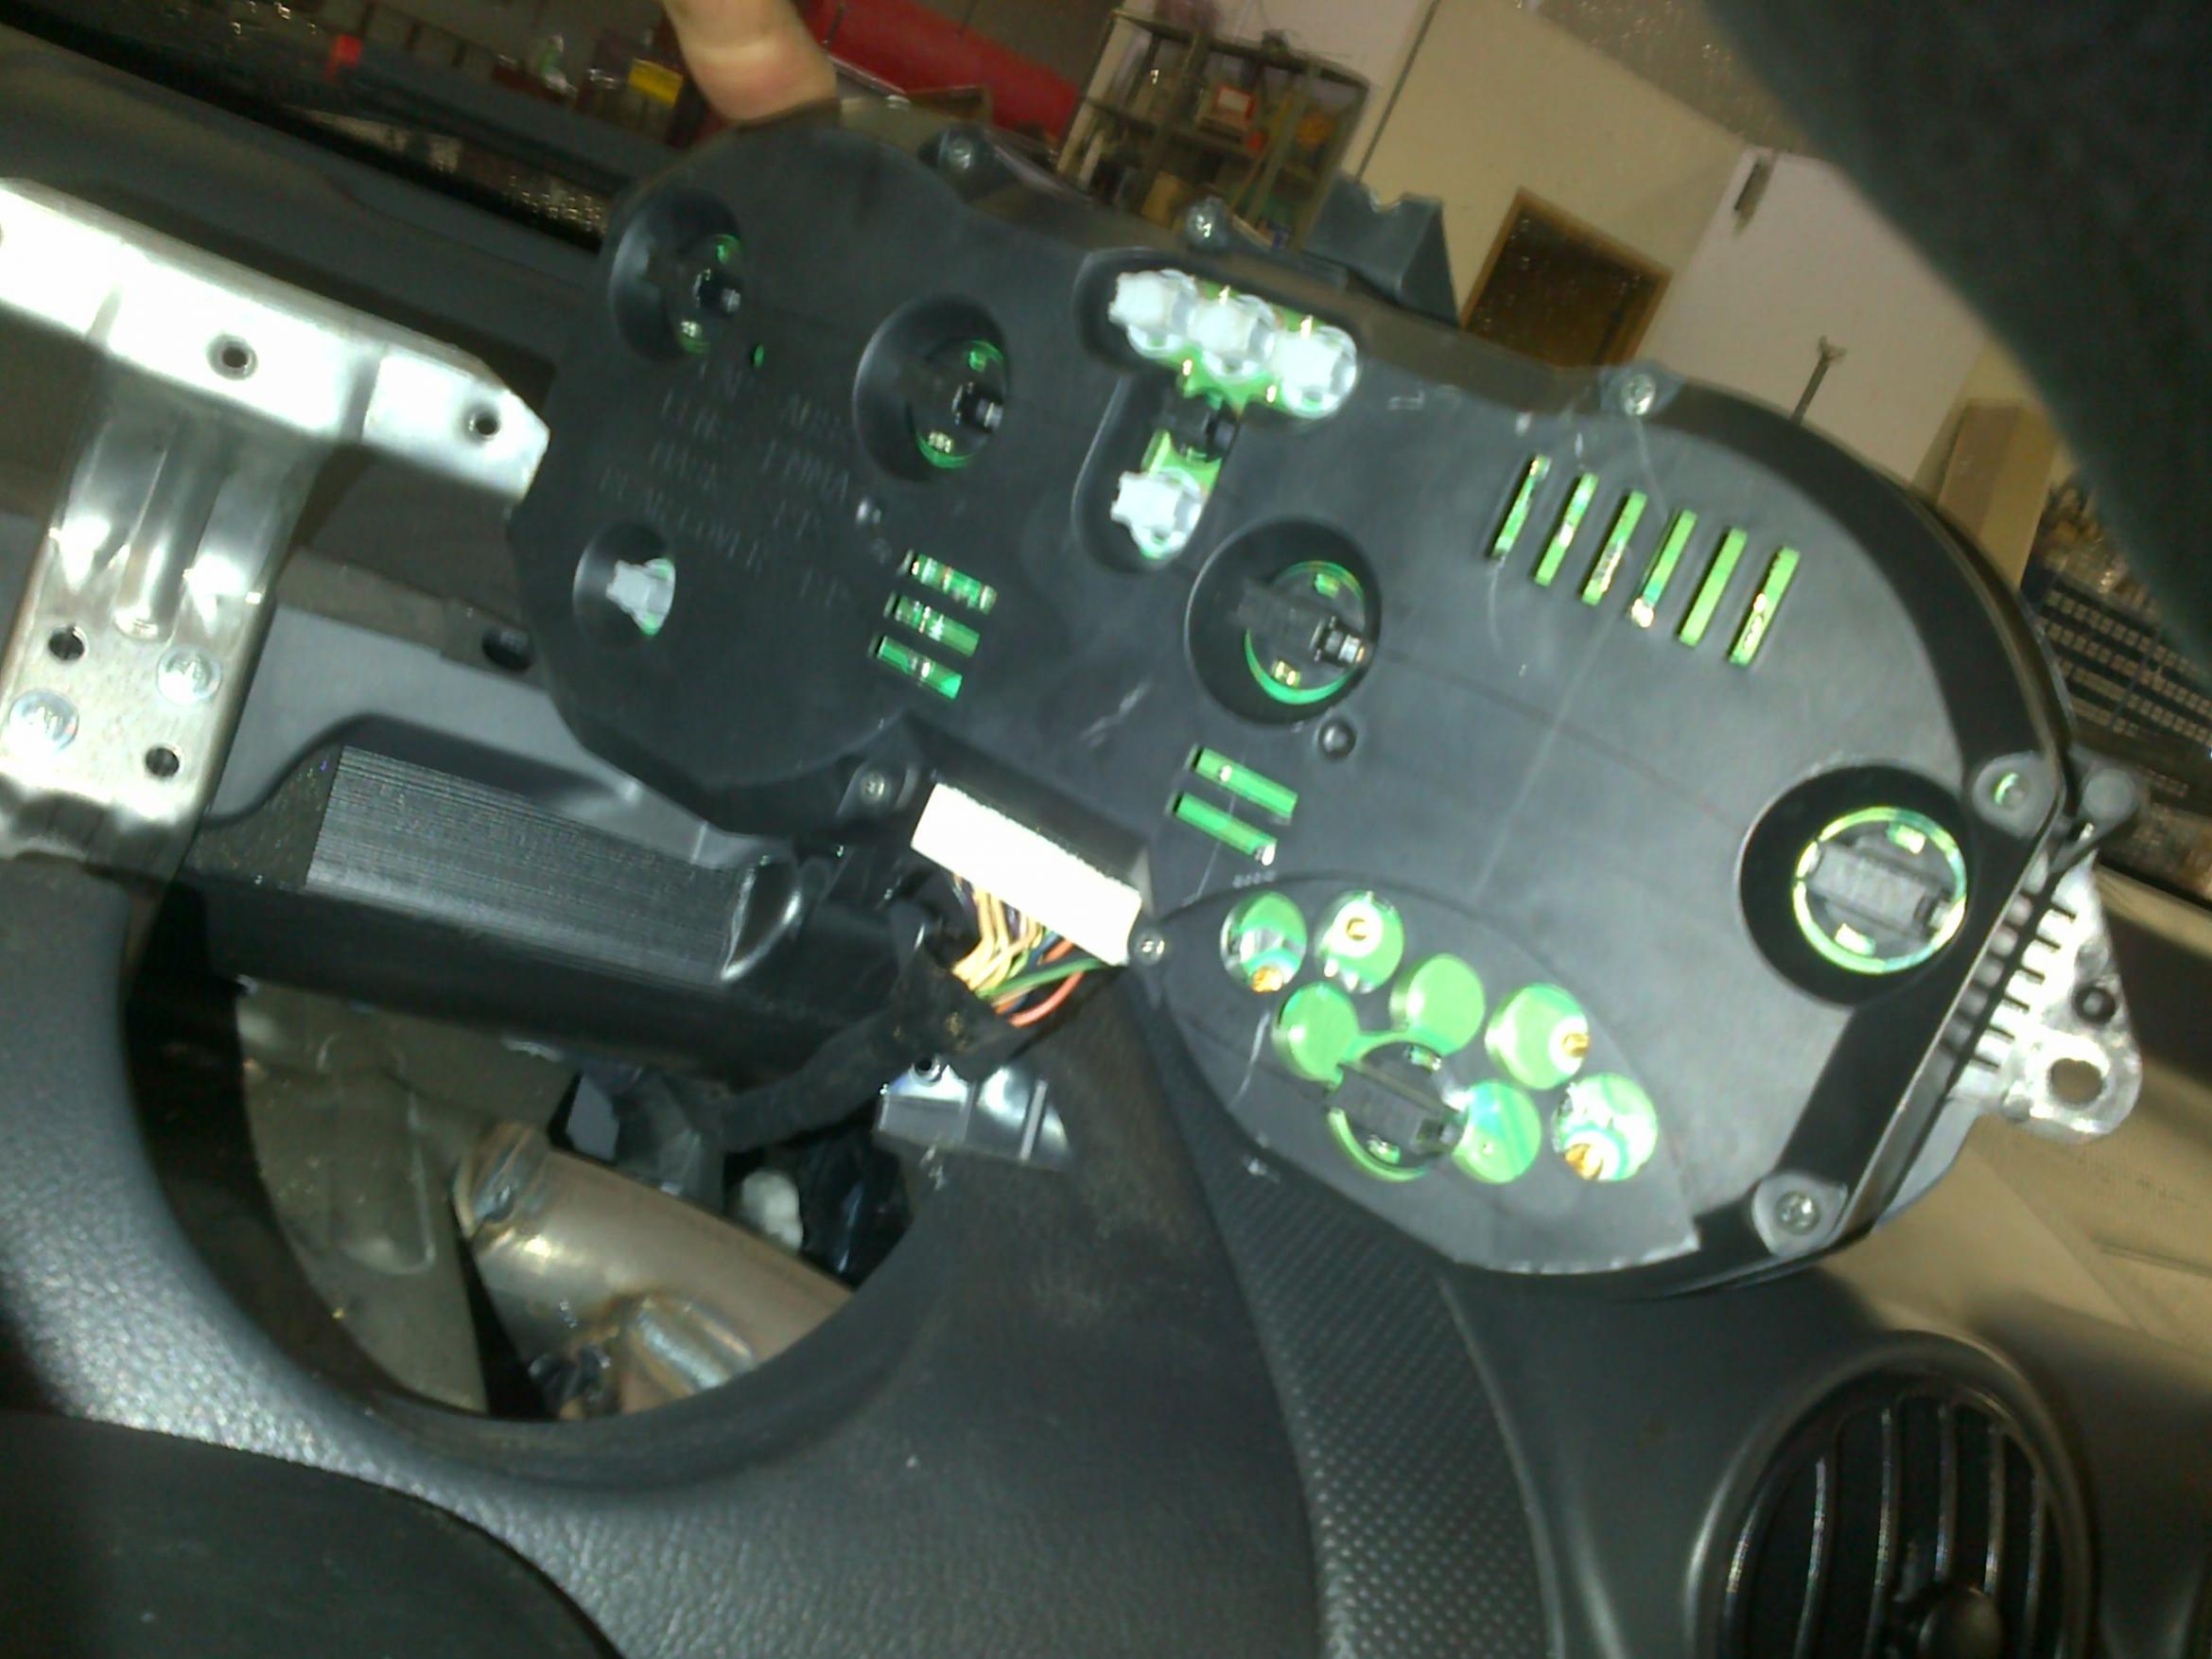
Remove that last screw. wiggle gently and guide the cluster around. disconnect the wiring connector. Use a screwdriver gingerly and wiggle until separated. Don't use your thumb and pull hard, that's how windshields are broken.
If you're just doing the bulbs... there they are. you don't even have do pull the wiring off. Below is a little deeper disassembly if you need to go there:

Tiny screws... to go back together, turn them backwards until they seat, then tighten. That way you won't be cutting newer, weaker threads.
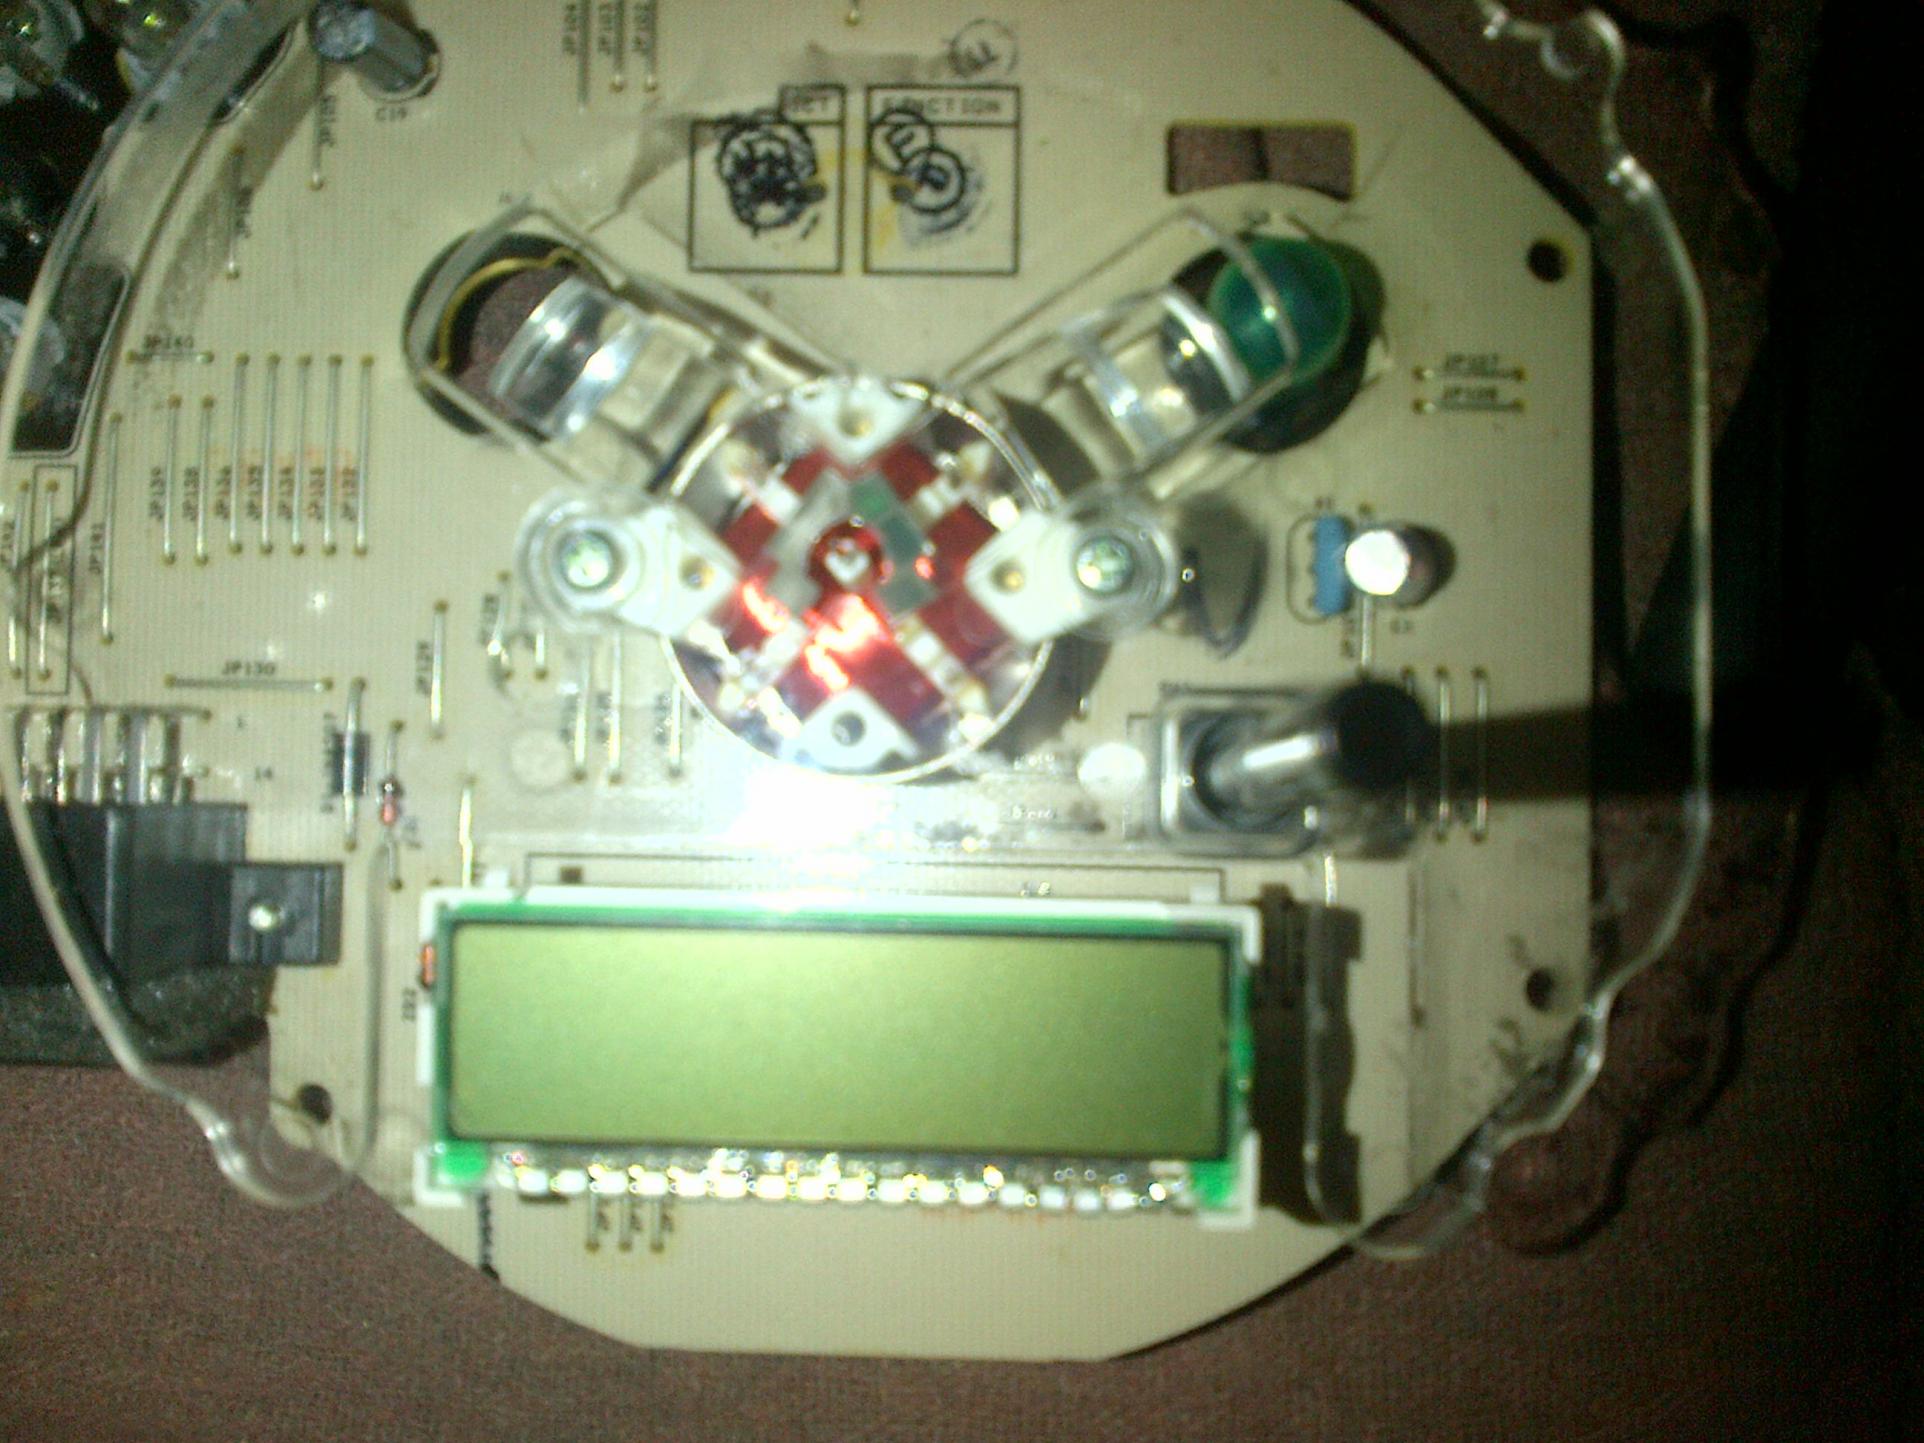
For the brave and bold: pull the needle off. Use a razor blade to separate the glue, lifting more than cutting. The needle stop peg should come off with the bezel skin, but be gentle so you don't break the retainer tabs on the peg. remove the two screws for the bezel.
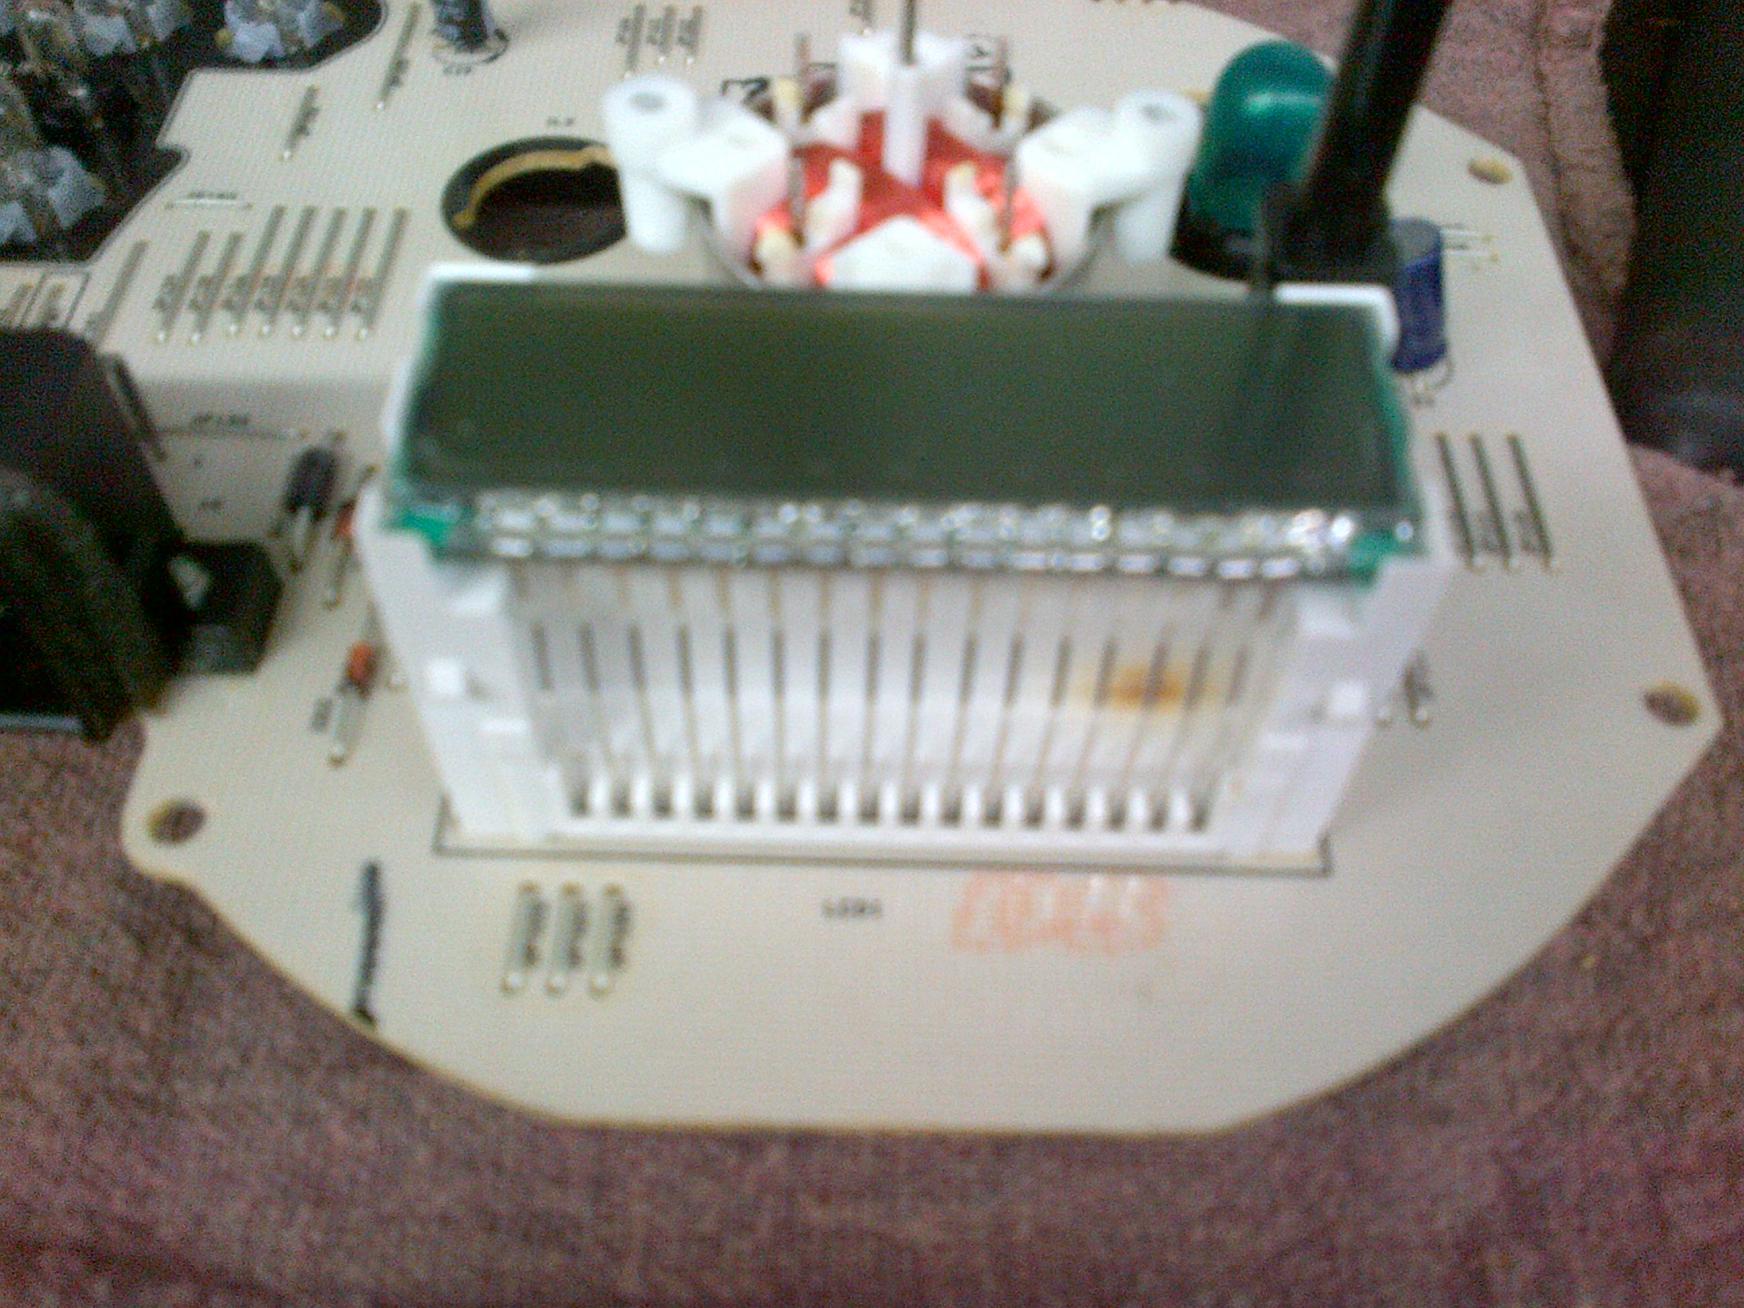
towards the right is the burn mark from the bulb on the LCD panel. It's hard to see in this pic, but the LCD glass is cracking on the right side where the leads go into the panel. I suspect some of the foil-thin leads have been severed below the surface. I have yet to source this panel to try another. The display controller could also have bad drivers, and that's elsewhere on the board.
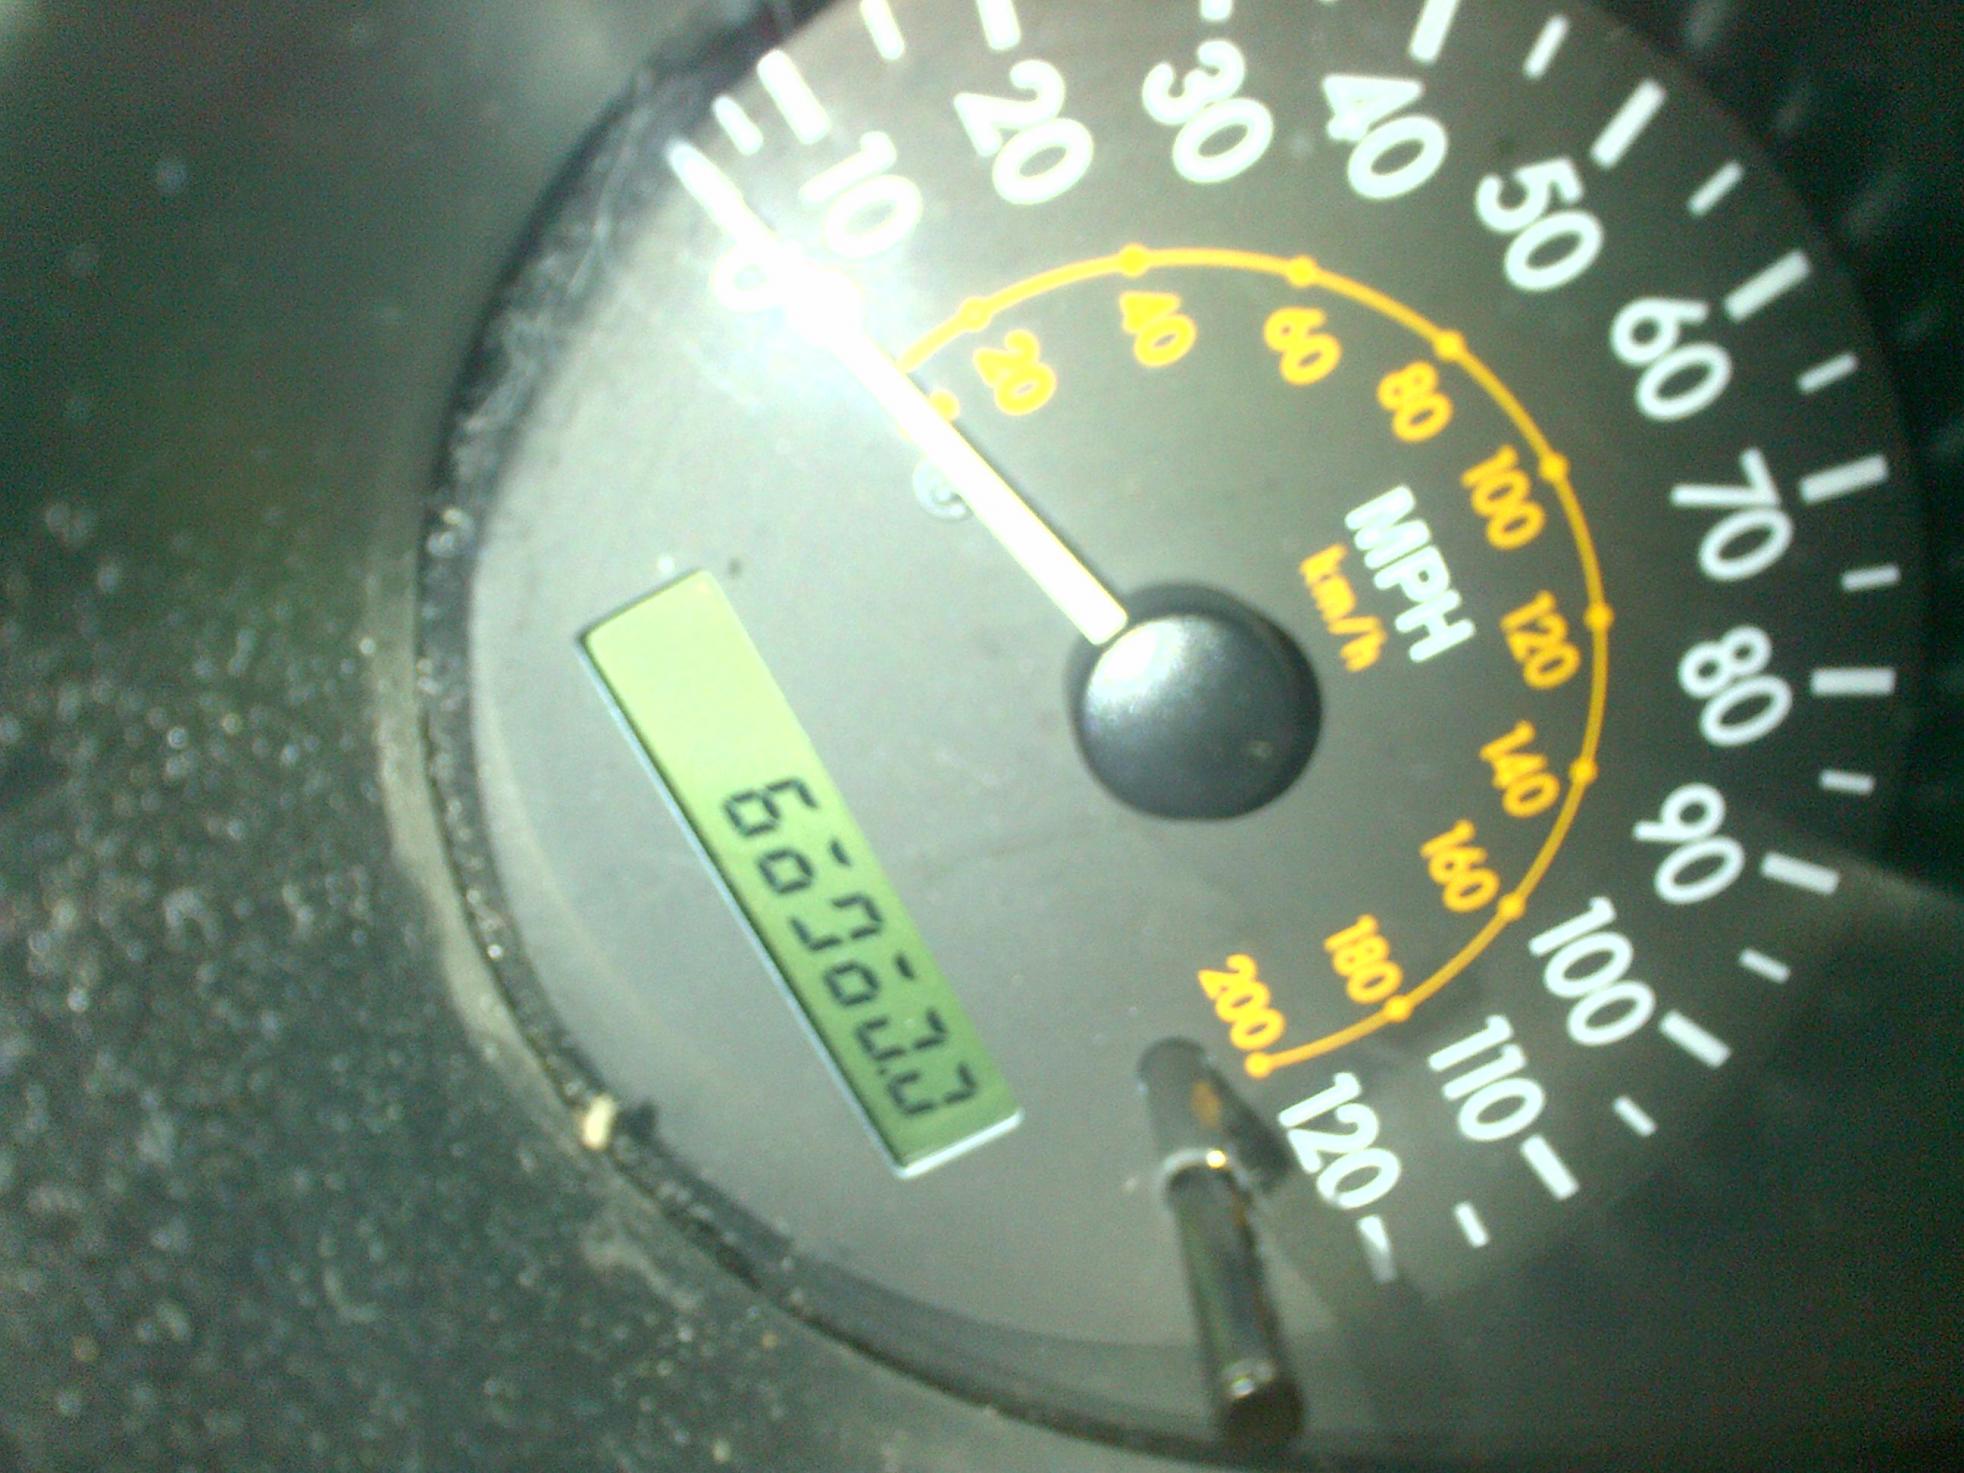
Cluster Power-On-Self-Test... I didn't actually fix anything this time. It took two more tries to align the needle to point to the correct speed. I have mad respect for those of you who put new skins on both sides, I can't imagine the patience for aligning the rest of the needles for fuel, temp, and RPM. I am probably going to invest in some more expert help than myself to get the LCD panel fixed-- that way I get a warranty too


