
 LinkBack URL
 About LinkBacks


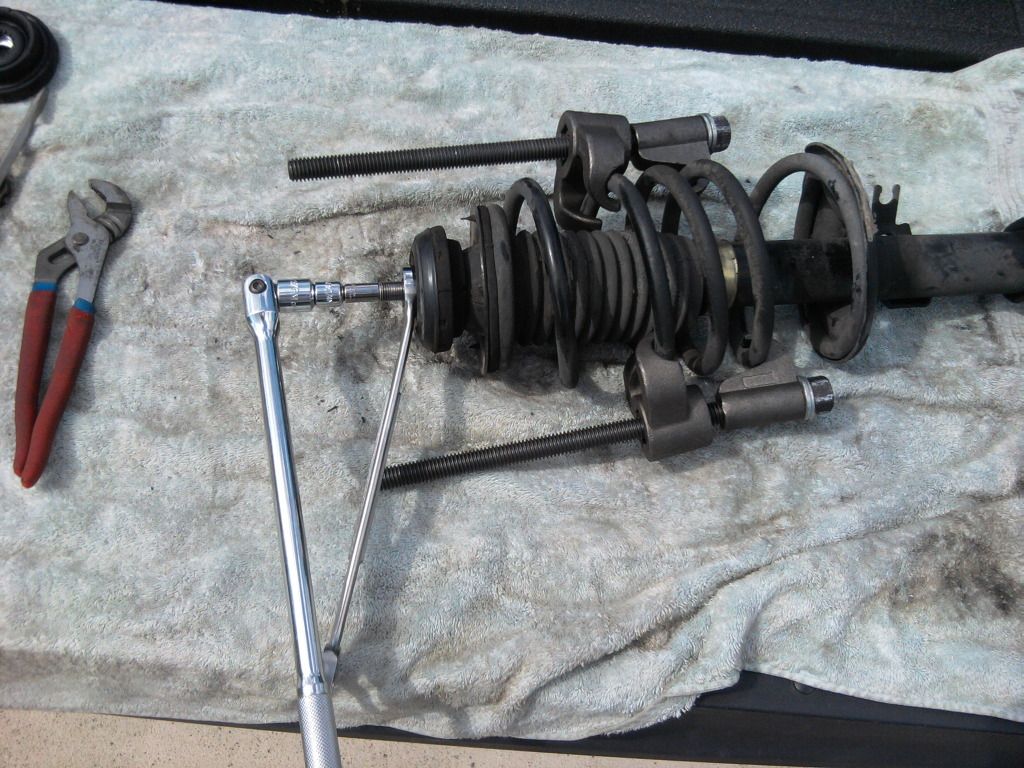
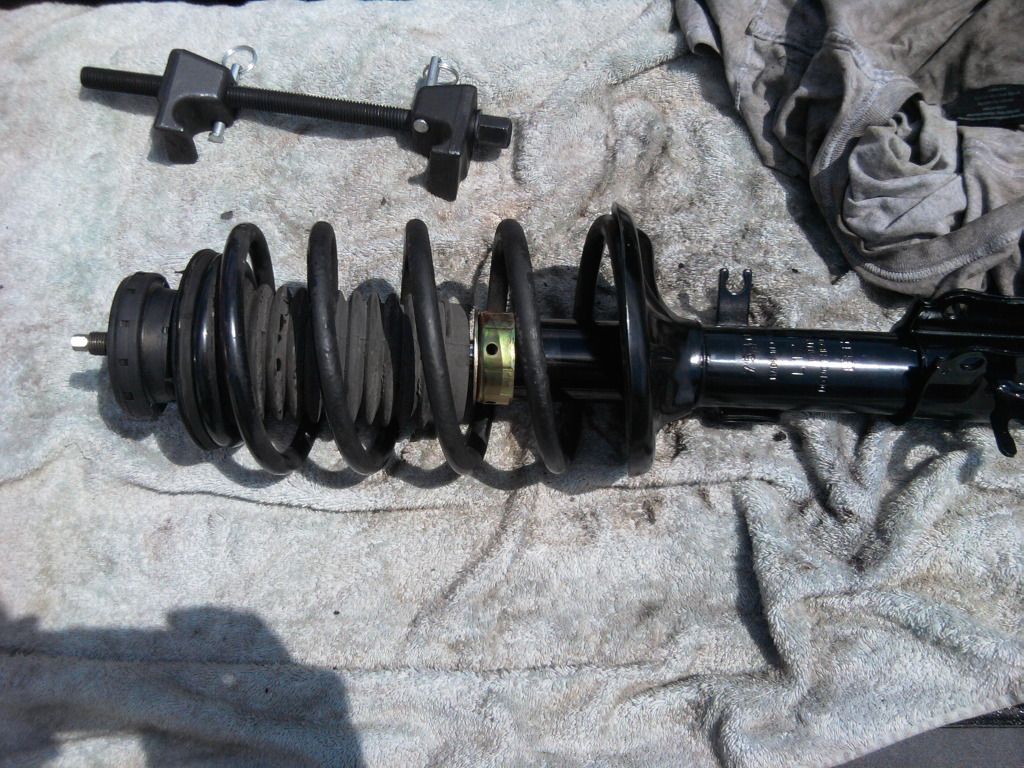
Compress the spring with a strut coil spring compressor tool(can loan from autozone). I actually had one(from harbor freight) but it got stuck for some reason and I had to cut it off so during the job I had to go get the loaner from autozone. The loaner from autozone(brand was OEM) was much better than mine:
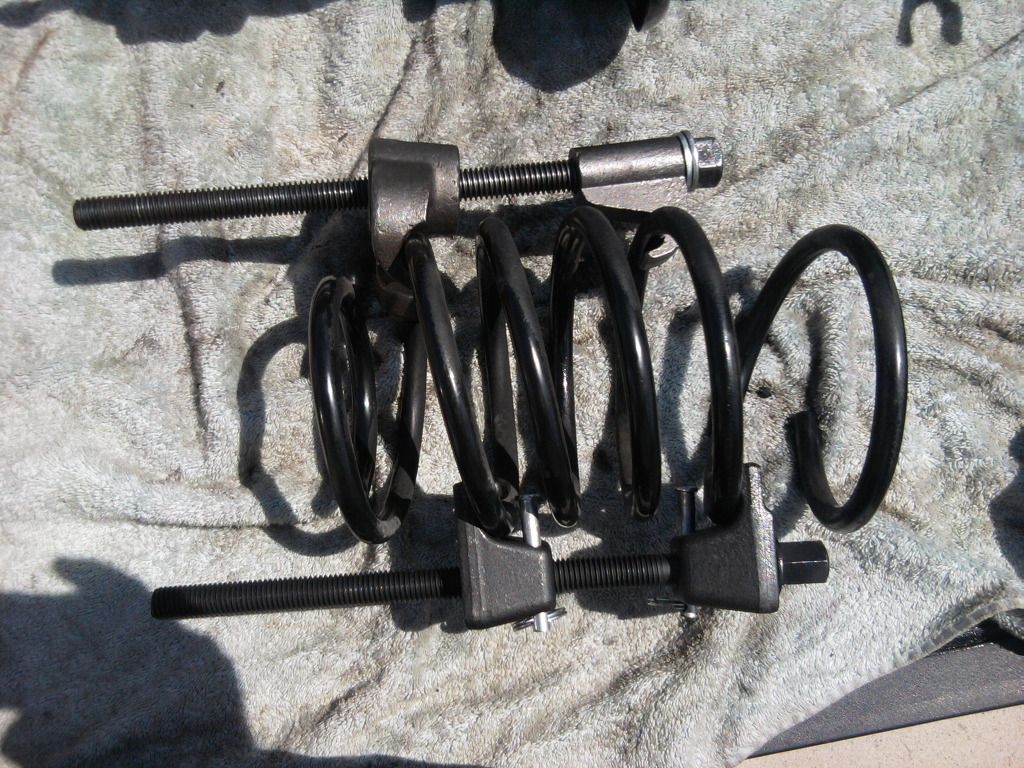
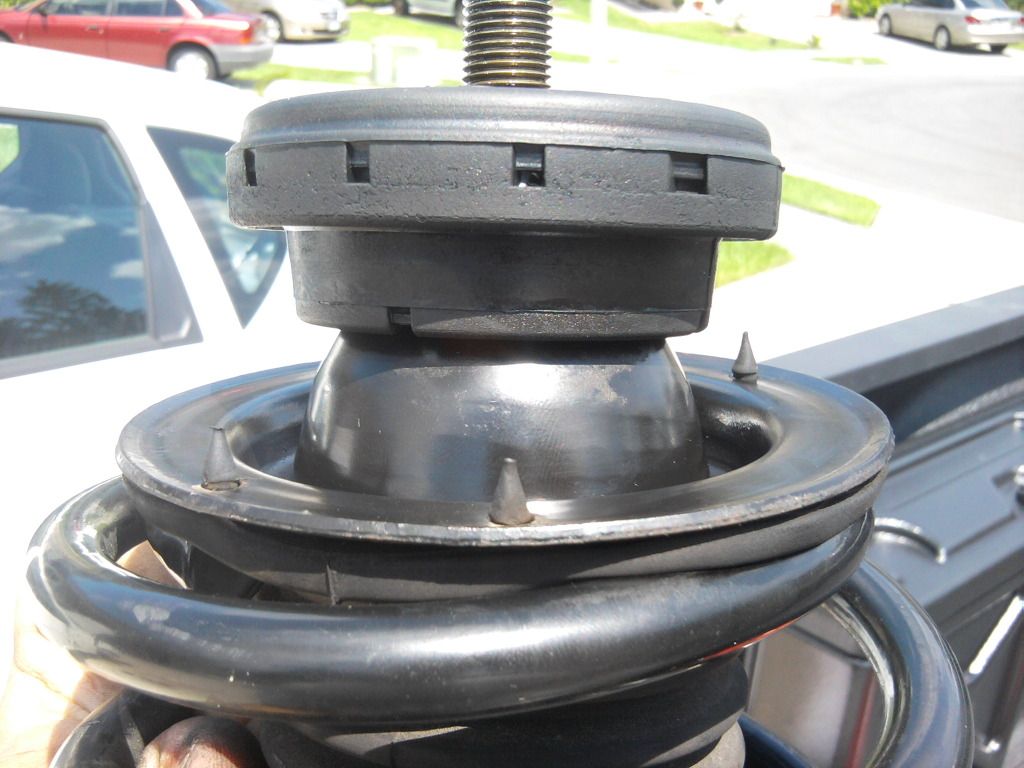
^in this picture the spring is not completely compressed. I only hooked 3 coils. Do not take the strut apart with spring pressure still there, it is very dangerous. Notice in this next photo I have the spring compressed to where it isn't putting pressure on the top plate(notice I now hooked 4 coils):
So once the spring is compressed hold the strut piston rod with the small socket again and use a wrench to take off the nut that holds the top plate onto the strut(reusing a photo):
MAKE NOTE OF THE ORIENTATION OF ALL THE PARTS YOU REMOVE. It is important to put them back on in the same orientation that they came off.
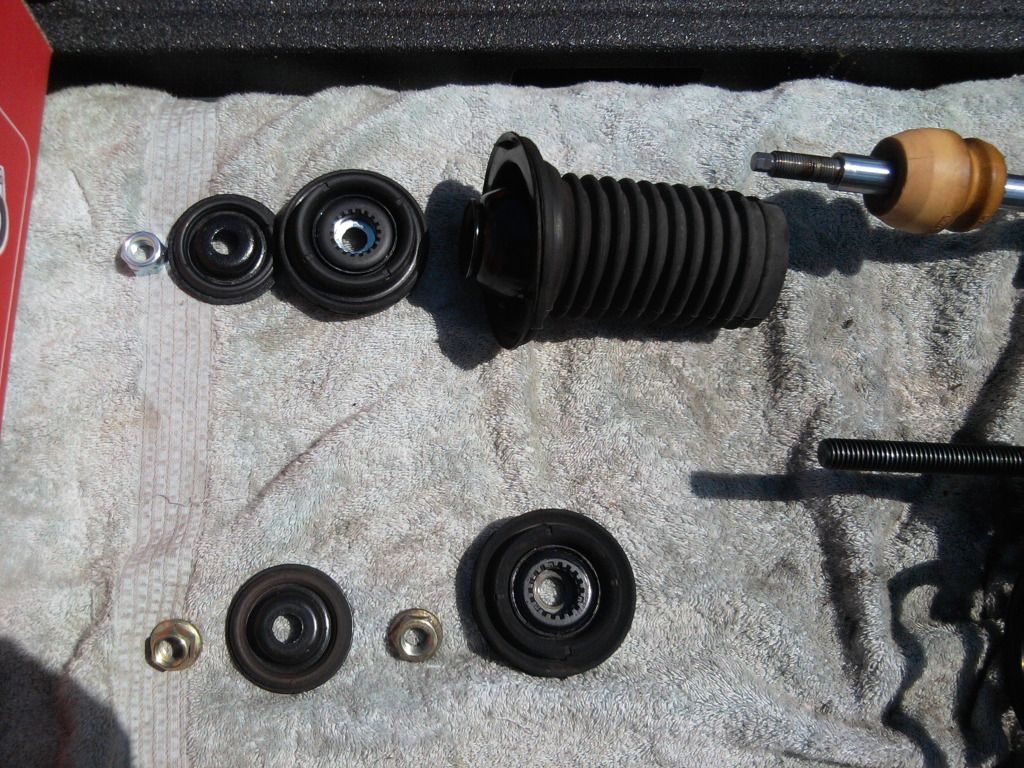
I bought new strut mounting kits and recommend not reusing the old parts. I did reuse the "dust cover", the metal upper plate, and the bump stop.
New vs old:
The parts slide onto the strut in this order(basically as shown, I'm going from memory but pretty sure I have it right. Just pay attention to how it comes apart though):
Bump stop
Spring
Dust cover
Top metal plate
New rubber mount/bushing(two pieces)
Washer
Nut(I chose to reuse the old one with some blue thread lock in lieu of using the new one that looked different.)
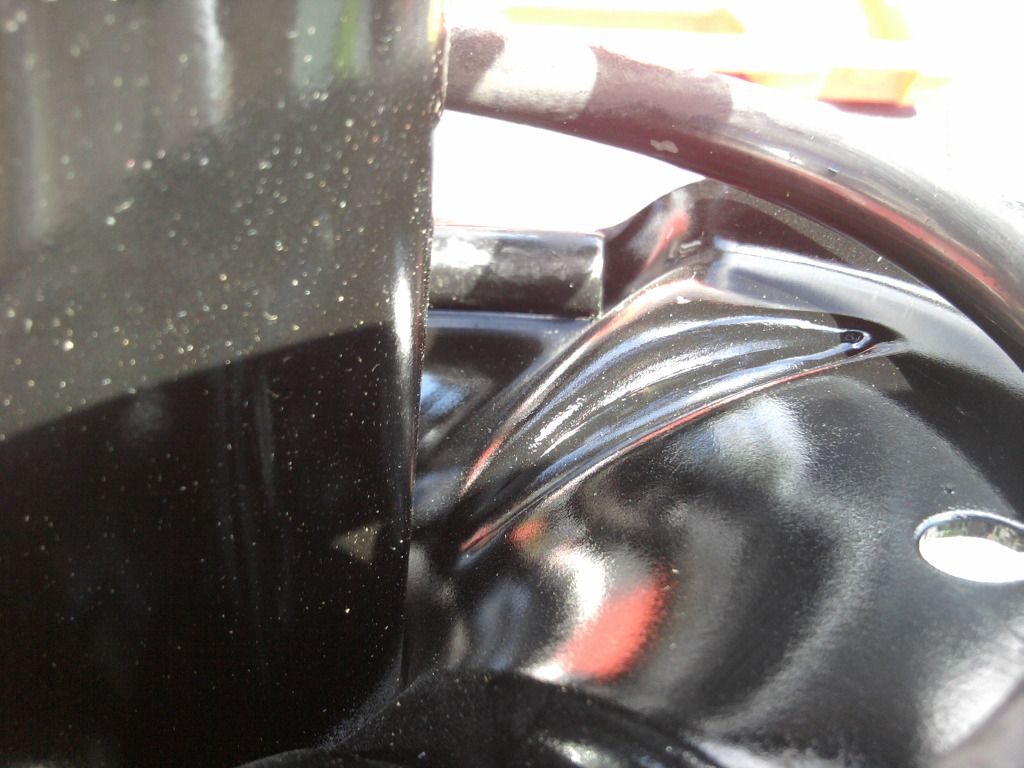
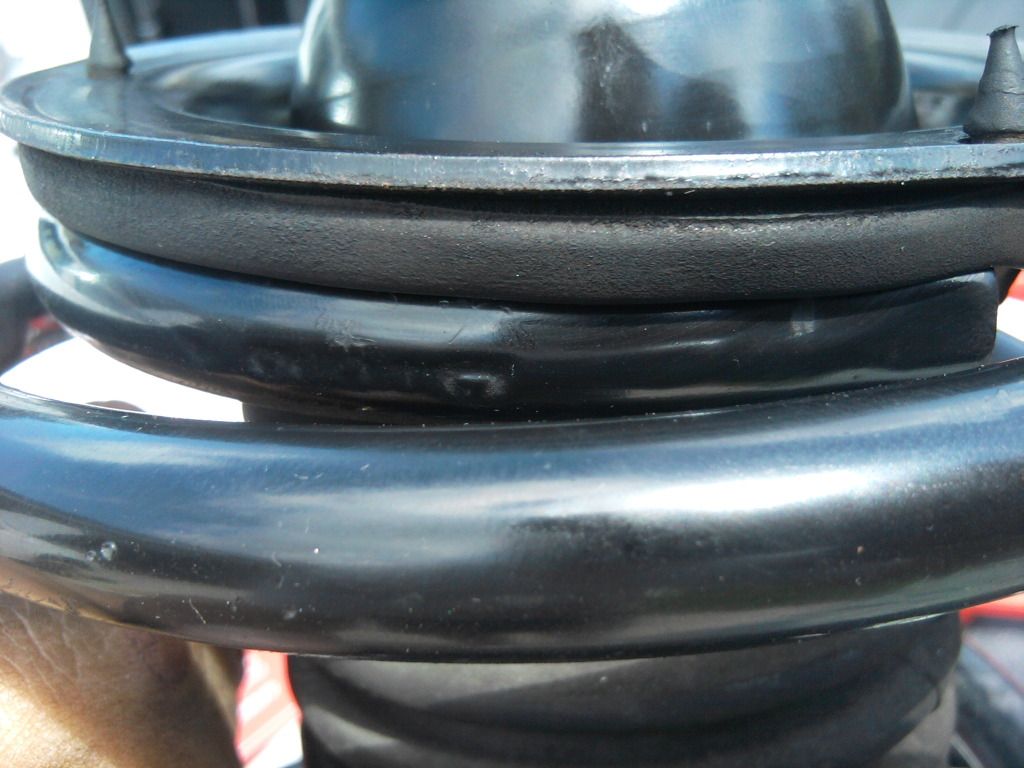
When you reassemble the new strut you need to make sure you have the spring and top metal plate oriented correctly. Align the spring so it's seated correctly in the lower cup:
Then loosely assemble the rest and make sure you align the top metal plate to the spring correctly(I was able to use the old imprint in the rubber to see how it went):
Then tighten the nut down.:
Remove spring compressor and you should have this:
Double check that the spring is oriented correctly and everything looks correct.


 Reply With Quote